
Last updated September 24, 2026
Attic Insulation Maintenance Checklist for Palmdale Homeowners
A single rodent run through an attic can compress blown insulation enough to drop effective R-value by 30% in the affected area, and because the damage is invisible from below, most Palmdale homeowners never find it until their energy bills force a full attic inspection. The high desert climate here creates a uniquely harsh environment for attic assemblies: UV-heated roof decks that bake insulation materials for six months straight, seasonal rodent pressure from ground squirrels and roof rats that tunnel through loose-fill, and monsoon-period humidity spikes in July through September that introduce moisture into spaces designed to stay bone-dry. This guide gives you a dated, task-by-task checklist with pass/fail criteria you can measure with a ruler, not vague suggestions about “checking your insulation.” For a deeper dive, see The Complete Guide to Insulation in Palmdale. You’ll learn exactly what to look for, when to look for it, and what to photograph so that when you do need a re-insulation quote, the scope and price are based on evidence rather than guesswork.
Quick Answer
Palmdale homeowners should inspect attic insulation three times yearly: pre-summer (May), post-monsoon (October), and pre-winter (December). Each inspection checks insulation depth against installed markers, scans for moisture staining on roof sheathing, identifies compression zones or rodent damage, and documents findings with dated photographs. A well-maintained attic in Palmdale’s climate holds steady at its installed R-value for 15-25 years for fiberglass and 20-30 years for cellulose, but only if air sealing at top plates and penetrations was completed first and remains intact.
Table of Contents
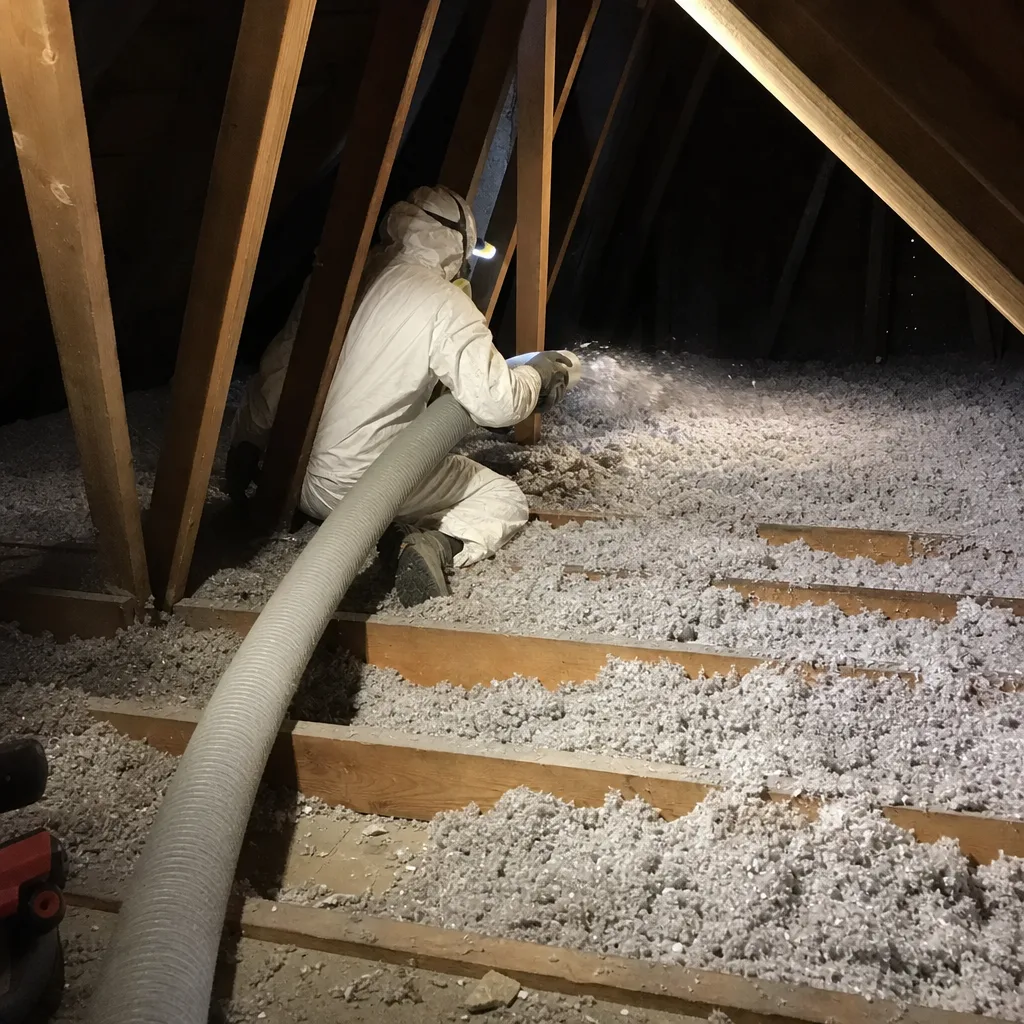
- Why Palmdale Attics Fail Differently
- Your Seasonal Inspection Checklist
- Measuring Insulation Depth and Settling
- Moisture Inspection During Monsoon Season
- Rodent Damage Detection Without Entering the Attic
- Photographic Documentation Protocol
- Common Mistakes to Avoid
- When to Call a Professional
- Frequently Asked Questions
- The Bottom Line
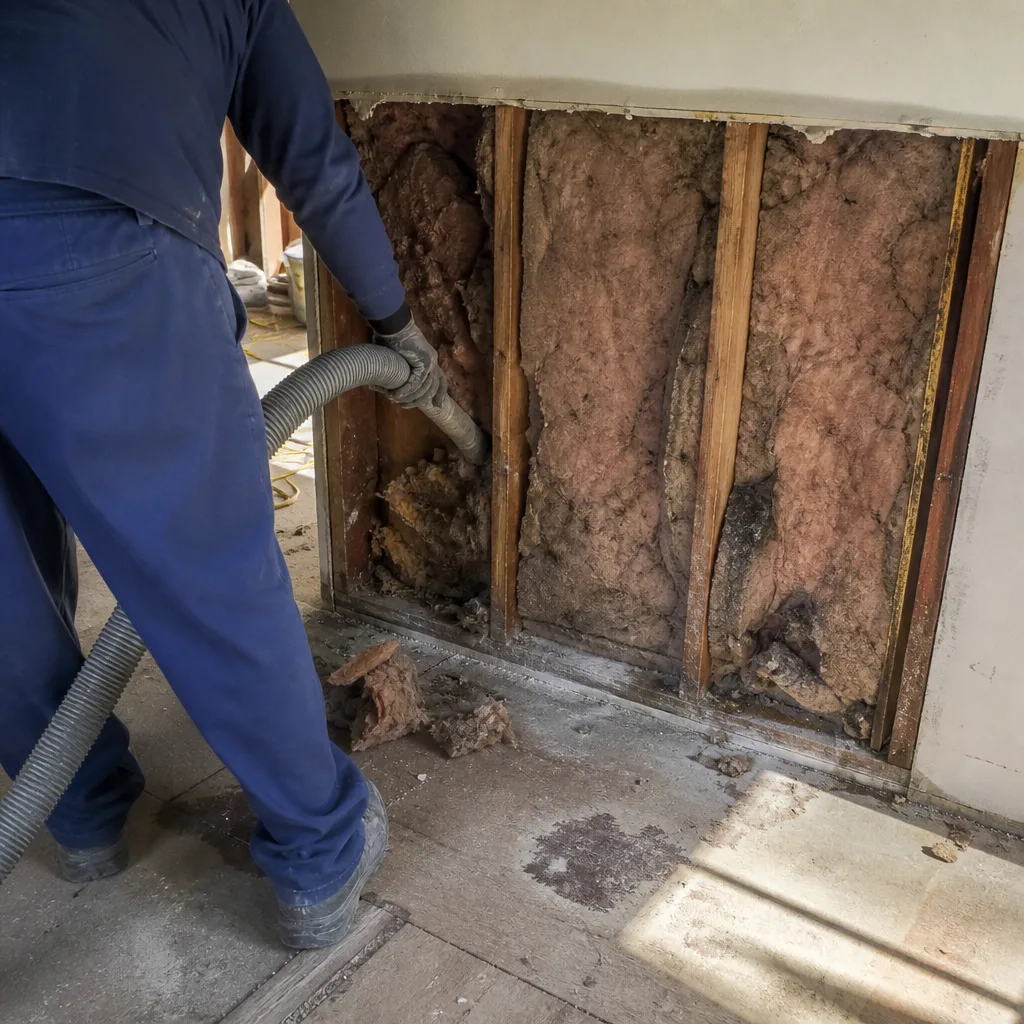 Before
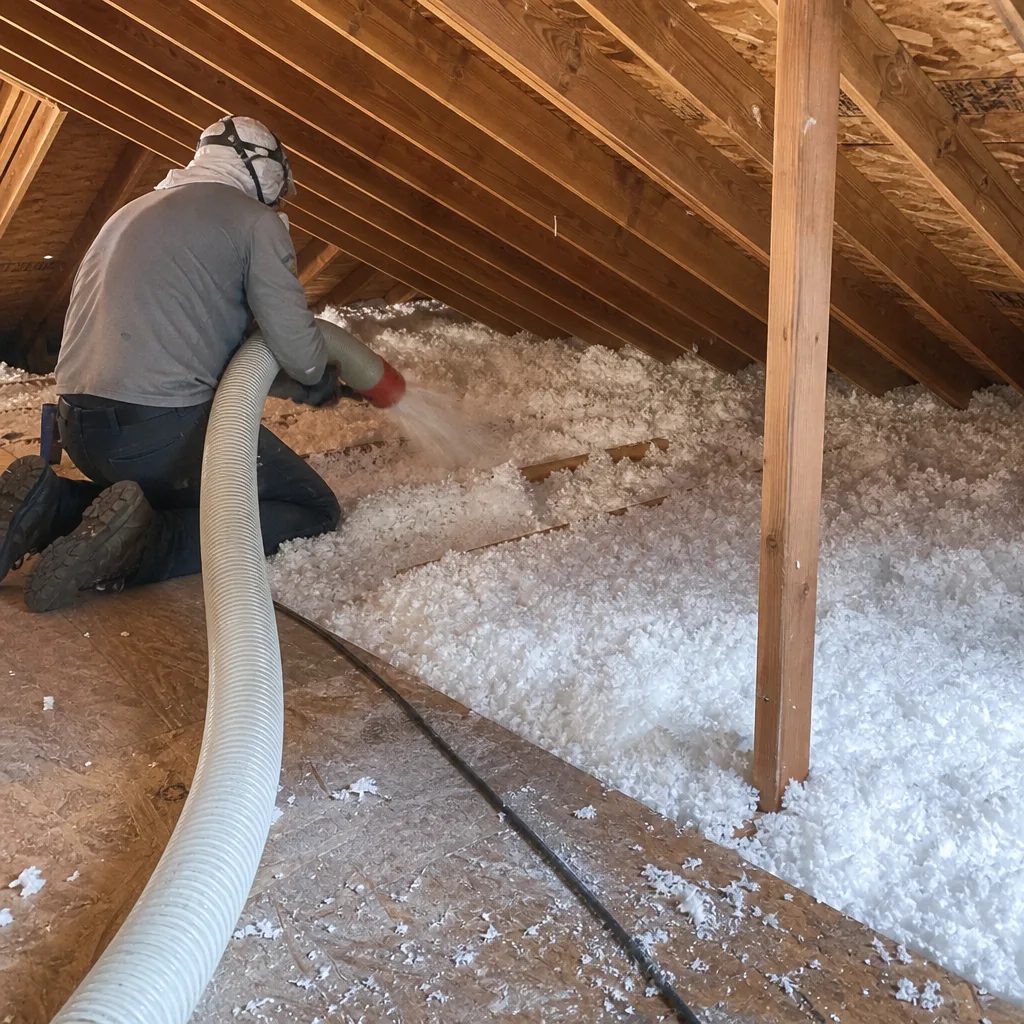 After
AfterWhy Palmdale Attics Fail Differently
Attic insulation in Palmdale does not age the way it does in coastal California or the Central Valley. Three local factors accelerate degradation in ways that show up on your checklist as specific, measurable problems.
UV-baked roof decks. Palmdale’s 280+ days of annual sunshine push roof deck surface temperatures past 150°F on summer afternoons. That heat radiates downward into the attic space, creating a thermal cycling effect: materials expand in afternoon heat, contract after sunset, and mechanical fatigue sets in faster than in milder climates. Fiberglass batts in contact with hot roof decking can sag and separate at seams. Blown cellulose near eave edges, where roof geometry concentrates heat, can develop a hardened crust that reduces loft and R-value.
Monsoon humidity intrusion. July through September brings brief but intense humidity spikes to the Antelope Valley. When moist air enters an attic through poorly sealed can lights, bath fan housings, or top plate gaps, it condenses on the underside of cooler roof sheathing. In Palmdale’s dry baseline climate, homeowners rarely suspect moisture damage until they find black staining on plywood or compressed, clumped insulation that no longer lofts properly. The threshold for concern: any sheathing moisture reading above 19% wood moisture equivalent, or any visible staining larger than a dinner plate.
Rodent pressure from high desert corridors. Ground squirrels, roof rats, and mice move between the undeveloped desert parcels surrounding Palmdale and established neighborhoods, particularly near the foothill edges of Rancho Vista, Anaverde, and the areas abutting the San Gabriel Mountains. A single breeding pair of roof rats can produce 40 offspring annually. Their runways compress blown insulation to one-third of original depth, and their nesting material introduces organic matter that degrades cellulose fibers. The damage pattern is distinctive: linear compression paths following joist bays, with scattered droppings and shredded paper or insulation at tunnel endpoints.
These three factors mean a generic national checklist misses what actually matters in Palmdale. The inspection protocol below is built for this specific environment.
Your Seasonal Inspection Checklist
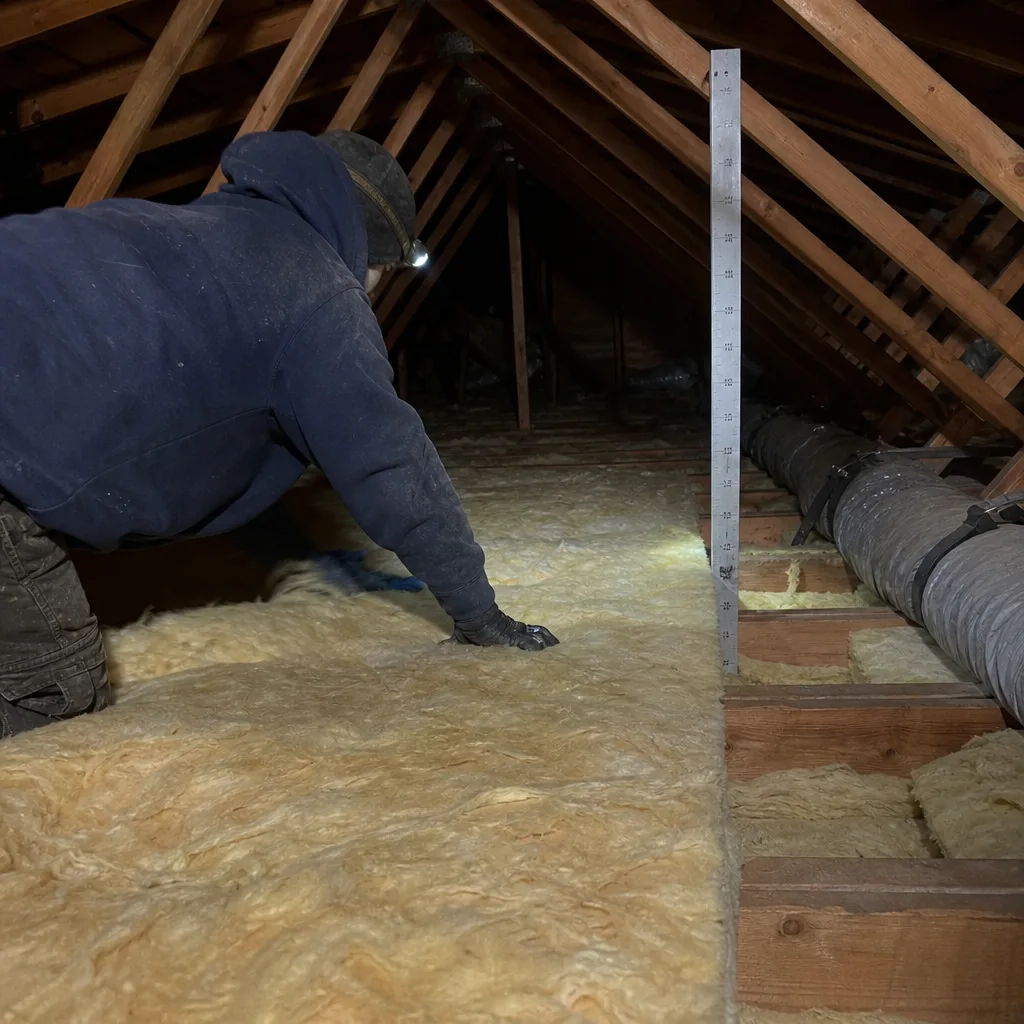
We schedule three inspections yearly for Palmdale homes, timed to catch problems before they compound. Each inspection takes 45-60 minutes if you know what to look for. Print this checklist, date it, and file it with your photos.
Pre-Summer Inspection: May 1-15
- Measure insulation depth at six locations. Use a yardstick or ruler, not a tape measure that bends. Measure at the attic center, two eave-adjacent points, and three mid-attic locations. Record each measurement to the nearest half-inch. Pass: all measurements within 1 inch of installed depth marker or original specification. Fail: any measurement more than 1 inch below spec, or any location where depth varies by more than 2 inches from the attic center.
- Inspect for UV-related hardening or crusting. In Palmdale’s climate, blown cellulose within 18 inches of south-facing eaves can develop a tan to gray hardened surface. Pass: material remains loose and fluffy when disturbed with a gloved hand. Fail: surface crust that breaks into flakes, or any area where insulation has fused to roof decking.
- Check all attic ventilation paths. Soffit vents should show no insulation blockage; baffles should be intact and unobstructed. Pass: daylight visible through every soffit vent, baffles in place. Fail: insulation packed against soffit, damaged baffles, or reduced airflow.
- Photograph: overall attic, depth measurements, any crusting, ventilation condition.
Post-Monsoon Inspection: October 1-15
- Inspect roof sheathing for moisture staining. Use a flashlight at low angle to catch surface texture changes. Look for gray-to-black discoloration, water drip lines following rafter paths, or swollen plywood edges. Pass: no staining larger than a quarter, no soft spots when pressed with a screwdriver handle. Fail: any staining larger than a dinner plate, any sheathing that yields to moderate pressure, or any musty odor.
- Check insulation for clumping or compression from moisture. Cellulose that has wetted and dried forms hard, irregular masses. Fiberglass mats into dense sheets. Pass: material lofts when fluffed by hand. Fail: clumps that do not separate, or areas where insulation has permanently compressed to less than 50% of original depth.
- Verify bath fan and kitchen exhaust terminations. Flex duct should be fully extended, damper should open and close freely, no gaps at ceiling penetration. Pass: duct intact, damper functional, sealed with mastic or foil tape. Fail: disconnected duct, missing damper, or air leaking around housing.
- Photograph: sheathing condition, any moisture damage, exhaust terminations.
Pre-Winter Inspection: December 1-15
- Re-measure insulation depth at same six locations as May. Compare to prior readings. Pass: seasonal variation less than 1 inch. Fail: measurable settling beyond 1 inch, indicating either compression damage or inadequate initial density.
- Inspect for rodent activity. Look for droppings (rice-grain sized for mice, olive-pit sized for rats), tunnel paths in insulation, gnawed wood or wiring, and nesting material. Pass: no fresh droppings, no active tunnels. Fail: any fresh droppings (shiny, not desiccated), active runway compression, or gnaw marks.
- Check exterior entry points. See detailed protocol in the rodent section below. Document any new gaps, damaged vents, or chew marks.
- Photograph: depth measurements, rodent evidence, exterior entry points.
File each completed checklist with dated photos. When you eventually request a re-insulation quote, this documentation allows the contractor to scope the job accurately without exploratory work.
Measuring Insulation Depth and Settling
Installed depth markers are the law in California, and they are your most reliable tool for tracking insulation performance over time. Title 24 requires markers every 300 square feet of attic space, visible from the attic access, showing the installed R-value and the depth required to achieve it. If your attic lacks these markers, that is itself a finding: the original installation may not have been inspected or may predate current code.
How to measure correctly. Push a rigid ruler straight down through the insulation until it contacts the drywall ceiling below. Do not angle the ruler; angled measurements read artificially deep. For blown fiberglass, measure to the top of the material, not the peak of the fluffiest particle. For blown cellulose, compress lightly with a flat hand and measure to the compressed surface, which approximates the settled depth you’ll see in year two and beyond.
Settling patterns differ by material.
- Blown cellulose (GreenFiber, etc.): Settles 10-15% in the first year as fibers interlock, then stabilizes. In Palmdale’s dry climate, subsequent settling is minimal unless disturbed by rodents or moisture. A 12-inch initial install should read 10.5-11 inches at year two. If you measure 9 inches or less, you have compression damage or inadequate initial density.
- Blown fiberglass (Owens Corning AttiCat, Johns Manville Spider, etc.): Settles less initially, 5-8% in year one, but is more vulnerable to thermal drift in high-heat attics. Fiberglass near hot roof decks can slump gradually, creating thin spots. A 14-inch install (R-38) should read 13+ inches at year three. Readings below 12 inches indicate slumping or disturbance.
- Fiberglass batts (Knauf, Owens Corning, etc.): Rarely settle if properly installed, but in Palmdale’s heat, batts in contact with roof decking can sag at seams and develop gaps. Measure batt thickness at three points per piece; any location reading 10% below nominal thickness is a fail.
What to do with your measurements. Record them on your checklist, compare to prior years, and flag any location where depth has dropped more than 1 inch from the prior inspection. A single thin spot may indicate a rodent runway or air leak. Widespread shallow readings suggest settling beyond normal limits or inadequate original installation.
At Topside Attic Insulation Palmdale home, we see this frequently on inspection calls: homeowners who measured once at installation and never again, surprised to find 20% depth loss after five years. The photo record and dated measurements would have caught it at year two, when correction is a fraction of the cost of full replacement.
Moisture Inspection During Monsoon Season
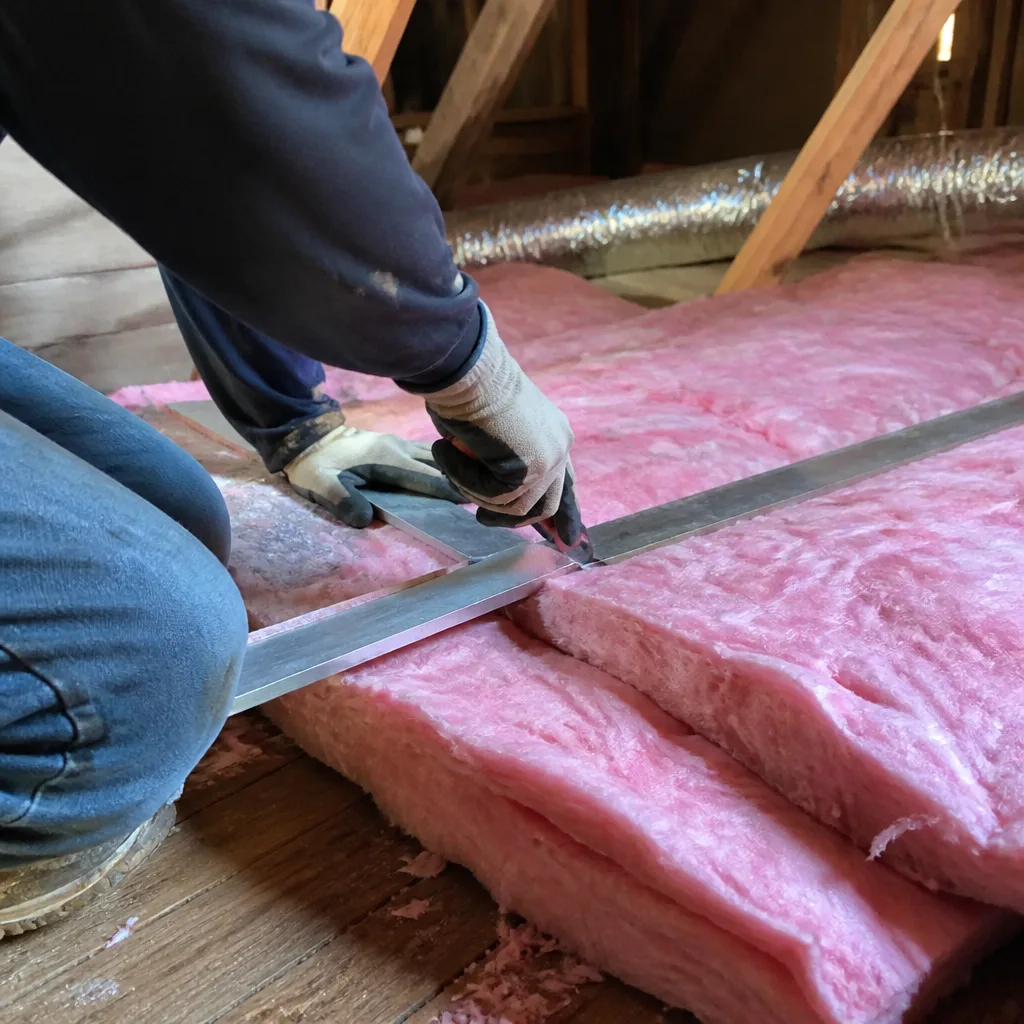
Palmdale’s monsoon window, roughly July 15 through September 15, is short but intense. Humidity can spike from a baseline of 15-25% to 70%+ during thunderstorm events, and attic temperatures drop at night as storms pass. That temperature differential creates condensation risk on the coolest surfaces: roof sheathing, ductwork, and metal penetrations.
The inspection protocol.
- Timing: Inspect within two weeks after the final monsoon event, typically by October 1. Earlier inspections may catch active leaks but miss condensation patterns that develop as humidity equalizes.
- Sheathing examination: Use a flashlight held at a low, grazing angle across the plywood or OSB surface. This raking light reveals texture changes invisible in direct illumination. Look for:
- Gray or black discoloration, often following the grain pattern of plywood
- Water drip lines running down rafter faces, indicating condensation points
- Swollen or delaminated plywood edges, particularly at panel joints
- White or gray crystalline deposits, indicating mineral leaching from prior wetting
- Insulation contact check: Lift insulation carefully where it contacts roof sheathing or ductwork. Wet cellulose darkens to a muddy brown and forms hard clumps. Wet fiberglass mats into sheets with reduced loft. Pass: no discoloration, material separates easily. Fail: any darkening, clumping, or musty odor.
- Metal surface check: Inspect HVAC ducts, electrical boxes, and structural connectors for rust or corrosion. Any rust on galvanized surfaces indicates repeated condensation events.
Time-to-damage thresholds. In Palmdale’s dry climate, a single wetting event that dries within 48 hours rarely causes permanent damage. But monsoon moisture that remains for more than 72 hours, or repeated wetting without drying between events, initiates mold colonization on wood surfaces within 5-10 days at temperatures above 70°F. The attic environment in September meets these conditions. Black mold on sheathing is not merely a health concern; it indicates sustained moisture that has also degraded insulation R-value and may have compromised structural fasteners.
Prevention through air sealing. The moisture enters with the air. Top plates, can light housings, bath fan penetrations, and wire holes are the primary pathways. A blower-door test - a pressurization reading that shows, in one number, how much air your building envelope is losing - identifies these leaks quantitatively. At Envelope Insulation Co., we seal before we insulate, and we publish before-and-after blower-door numbers on every job so homeowners can verify the result. Attic Insulation in Palmdale that skips this step leaves the attic vulnerable to exactly the moisture damage this checklist is designed to catch.
Rodent Damage Detection Without Entering the Attic
Not every homeowner should enter their attic. Steep pitches, fragile ceiling drywall, and electrical hazards make attic entry genuinely dangerous for some. You can identify significant rodent problems from outside and from the access hatch, then decide whether professional inspection is warranted.
Exterior entry point inspection.
- Eave and fascia gaps: Walk the perimeter with binoculars or a zoom camera. Look for gaps larger than 1/4 inch at eave corners, where roof planes meet walls, and where fascia boards have separated from rafter tails. Roof rats need only a half-inch opening; mice need one-quarter inch. In Palmdale, stucco-to-wood transitions at eaves are common failure points as thermal cycling opens hairline cracks.
- Gable vent screening: Vents should have intact 1/4-inch hardware cloth, not flimsy fiberglass screen. Check for chew marks on wood vent frames, bent screen wires, or gaps where screen has pulled from staples. Ground squirrels in Palmdale’s hillside neighborhoods will enlarge small gaps aggressively.
- Utility penetrations: Where electrical service, HVAC linesets, or plumbing vents pass through walls or soffits, sealant should be intact and exclusion material present. Look for gaps around conduit, deteriorated foam sealant, or chew marks on softer materials.
- Roof junctions and chimney: Flashing gaps, missing kickout diverters, and chimney cricket separations all provide access. These require binocular inspection or a contractor’s ladder; do not attempt roof access without proper equipment.
Attic access hatch inspection (no entry required).
Open the hatch and observe without climbing through. Use a flashlight on a pole or your phone on selfie mode to extend your view. Look for:
- Insulation disturbance patterns: linear compression paths, particularly following joist bays, indicate active runway use
- Droppings on the access framing or top of insulation: fresh droppings are dark, moist, and soft; old droppings are gray, hard, and crumble
- Nesting material: shredded paper, insulation, or plant matter concentrated in corners or near heat sources
- Urine staining: visible as darkened, crusted areas on wood surfaces, often with a strong ammonia odor
When exterior signs indicate attic entry is necessary. If you find any fresh entry gap, any active chewing, or any droppings at the access hatch, schedule a professional inspection. Rodent damage compounds quickly in Palmdale’s climate: compressed insulation, contaminated material, and gnawed wiring create fire and efficiency hazards that exceed most homeowners’ remediation capacity. See DIY vs Professional Insulation: The Palmdale Homeowner’s Decision Guide to evaluate whether to tackle issues yourself.
For homes with crawl space concerns as well, Crawl Space Encapsulation & Vapor Barrier in Palmdale addresses the same rodent pressure from below, often with coordinated exclusion work.
Photographic Documentation Protocol
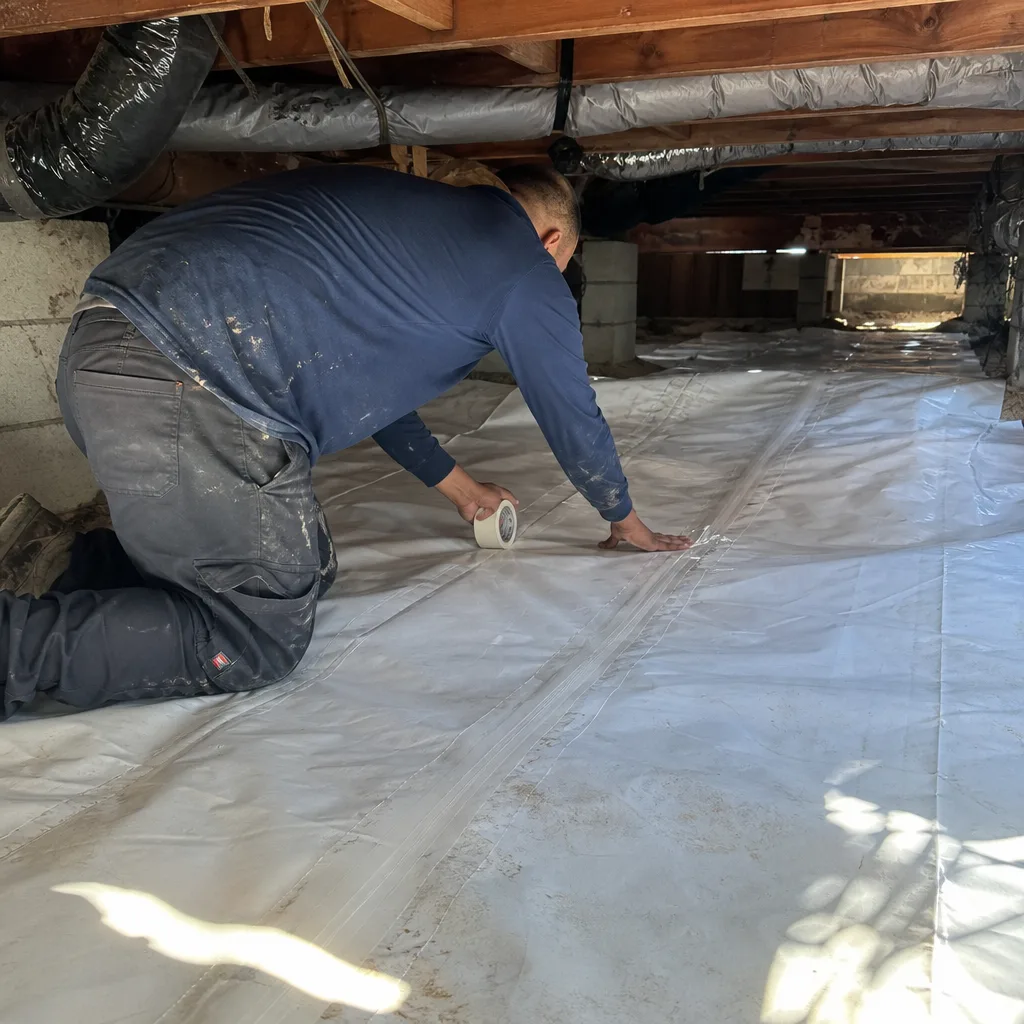
The photo record you build each year directly affects the scope and cost of eventual re-insulation quotes. A contractor bidding on a documented attic can scope accurately from photos and measurements. A contractor bidding blind must assume worst-case conditions, padding the estimate for unknowns. The difference routinely amounts to 15-25% in Palmdale’s market.
Required photos per inspection.
- Overall attic: One photo from the access hatch showing full attic span, and one from the attic center showing roof deck condition and insulation surface. These establish baseline conditions and track changes over time.
- Depth measurements: One photo per measurement location showing the ruler in place, with the measurement readable. Include the depth marker in frame if present.
- Problem areas: Any moisture staining, compression, rodent damage, or material degradation. Take wide shot for context and close-up for detail.
- Exterior entry points: Any gaps, damaged vents, or chew marks found during perimeter inspection.
- Documentation: The dated checklist itself, photographed or scanned, to prove inspection date.
File organization. Create a folder per year: “Attic Inspection 2024,” etc. Name files descriptively: “2024-05-10_depth_location1_14in.jpg” not “IMG_4382.jpg.” This discipline pays off when you request quotes years later and can send a zip file that answers every contractor’s questions before they visit.
What contractors do with your documentation. A professional bidding on a documented attic can: estimate material quantities from depth and area measurements; identify air sealing scope from visible penetration treatment; flag remediation needs (removal, cleaning, rodent proofing) from contamination evidence; and commit to a written price before visiting, under Haven Standard Clause 1. At Envelope Insulation Co., we’ve written firm quotes from homeowner photo records for 9,000+ homes since 2016, every one with a written price before work started and a documented record when the crew left.
The alternative: an exploratory visit, hourly charges for investigation, and a quote contingent on conditions “to be verified.” Your photo record eliminates that uncertainty.
Common Mistakes to Avoid
- Adding insulation over damaged or compressed material. New insulation over compressed old insulation does not restore R-value; it follows the contour of the damage and creates a lumpy, ineffective thermal blanket. Remove or restore damaged areas first.
- Ignoring air sealing before insulating. In Palmdale’s climate, unsealed can lights and top plates allow hot attic air to enter conditioned space in summer and conditioned air to escape year-round. Insulation does not stop air movement; it only slows conductive heat transfer. Spray Foam Insulation in Palmdale can address both in specific applications, but blown or batt insulation always requires separate air sealing.
- Measuring only at the attic center. Eave-adjacent areas are where Palmdale’s UV exposure and rodent entry concentrate. Omitting these locations misses the first failure points.
- Delaying post-monsoon inspection until spring. By March, moisture damage from September has dried, mold has established, and insulation has permanently compressed. The October window is non-negotiable for catching active problems.
- Using compressed air or vacuum to “fluff” settled insulation. This damages fiber structure, reduces long-term performance, and aerosolizes contaminants. Disturbed insulation should be removed and replaced, not rejuvenated.
- Assuming new construction insulation is adequate. Code-minimum insulation in Palmdale tract homes built 2015-2025 is often R-30 in attics, below the R-38 to R-60 that Title 24 recommends for our climate zone. Measure before assuming.
- Neglecting to document. The homeowner who cannot show a contractor what their attic looked like three years ago pays for the contractor’s uncertainty. Photo documentation is free; contingency pricing is expensive.
When to Call a Professional
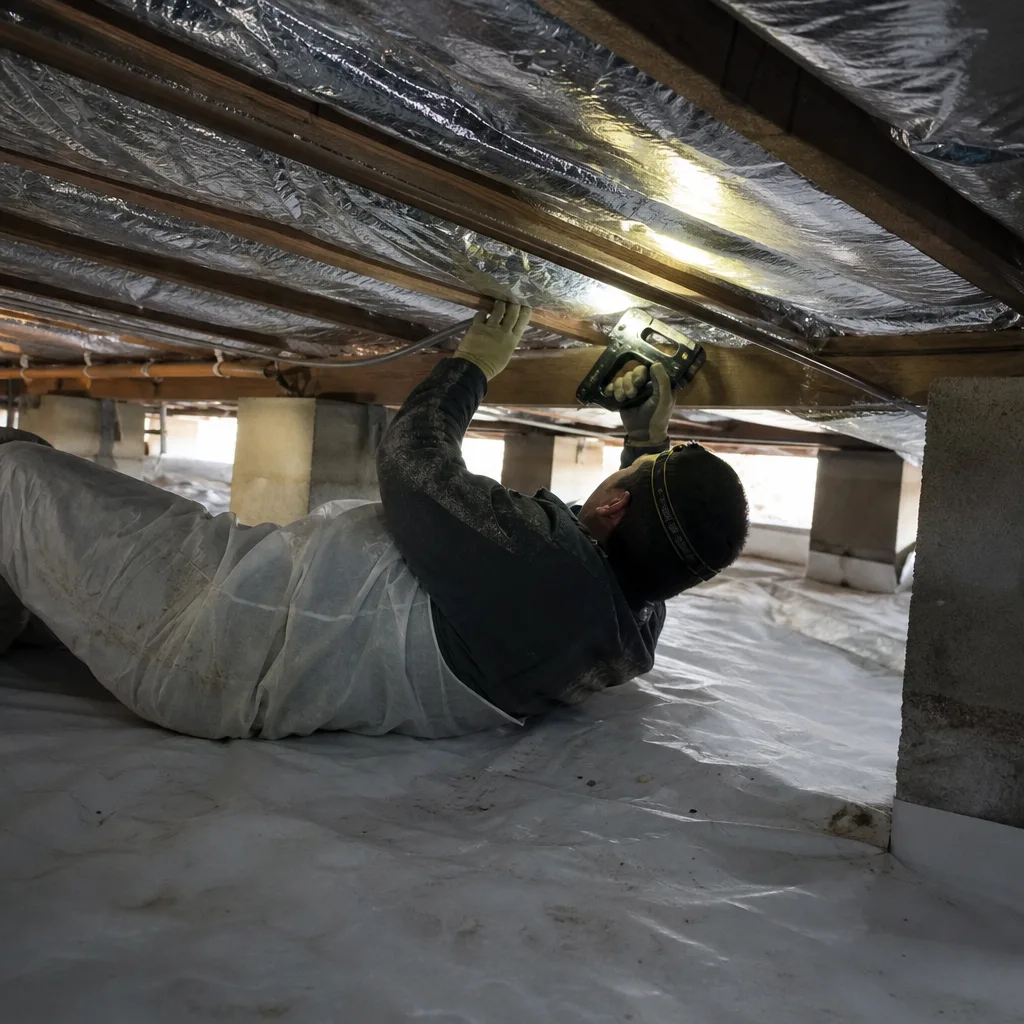
Call for professional inspection when your checklist reveals any of the following: moisture staining larger than a dinner plate on sheathing; insulation depth more than 2 inches below specification at any location; fresh rodent droppings or active runway compression; any electrical wiring with gnaw marks or exposed conductor; or a musty odor indicating mold colonization. These conditions exceed routine maintenance and involve safety hazards that warrant trained assessment.
Attic Insulation from Topside offers free estimates in Palmdale - call (661) 403-4467. Every estimate includes a written price before any work starts, a documented photo record of conditions found, and on applicable jobs, before-and-after blower-door readings so you can verify air-sealing performance. The 365-Day Done Right Promise applies to all completed work: if it’s not done right, we make it right. Under Haven Standard, you get a flat price, written scope, and written warranty before anyone lifts a tool.
Frequently Asked Questions
Most attic insulation jobs in a typical Palmdale home of 1,400-2,200 square feet run between $2,800 and $5,400 for blown fiberglass or cellulose to R-38, including air sealing of top plates and penetrations. Spray foam applications range higher, $4,500-$8,500, depending on roof deck coverage and accessibility. These ranges assume standard attic geometry; steep pitches, extensive remediation, or rodent damage removal add scope. Call (661) 403-4467 for an exact quote - estimates are free, and we provide a written price before any work starts.
Three times yearly: pre-summer (May), post-monsoon (October), and pre-winter (December). This schedule catches UV-related hardening before peak heat, moisture damage within weeks of monsoon season, and rodent activity before winter nesting intensifies. Homes near open desert or with prior rodent issues may warrant a fourth inspection in February.
Title 24 recommends R-38 to R-60 for Palmdale’s climate zone, with R-38 as the practical minimum for existing homes and R-49 to R-60 as cost-effective for new construction or full replacement. R-30, common in tract homes built 2015-2020, is below current code and typically yields noticeable improvement when upgraded.
You can add over old insulation only if the existing material is dry, uncompressed, uncontaminated by rodent activity, and at least 50% of original depth. In Palmdale’s climate, we find that 60% of attics over 15 years old fail at least one of these criteria, particularly near eaves where UV exposure and rodent entry concentrate. Adding over damaged material traps problems and wastes the new investment. A photo-based assessment determines whether overlay or removal is appropriate.
Properly installed fiberglass or cellulose insulation in a sealed, dry Palmdale attic lasts 20-30 years. Actual lifespan is often 10-15 years because air sealing was omitted, rodent damage occurred, or monsoon moisture introduced degradation. The checklist in this guide is designed to identify these failure modes early, when correction extends service life rather than requiring full replacement.
Linear compression paths following joist bays, with insulation compressed to one-third original depth; scattered droppings, rice-grain sized for mice or olive-pit sized for rats; shredded paper or insulation concentrated in nesting areas; and gnaw marks on wood framing or wiring insulation. Fresh damage is indicated by dark, moist droppings and loose, uncompacted tunnel walls. Exterior entry points at eaves, gable vents, and utility penetrations confirm attic access without requiring dangerous roof inspection.
The Bottom Line
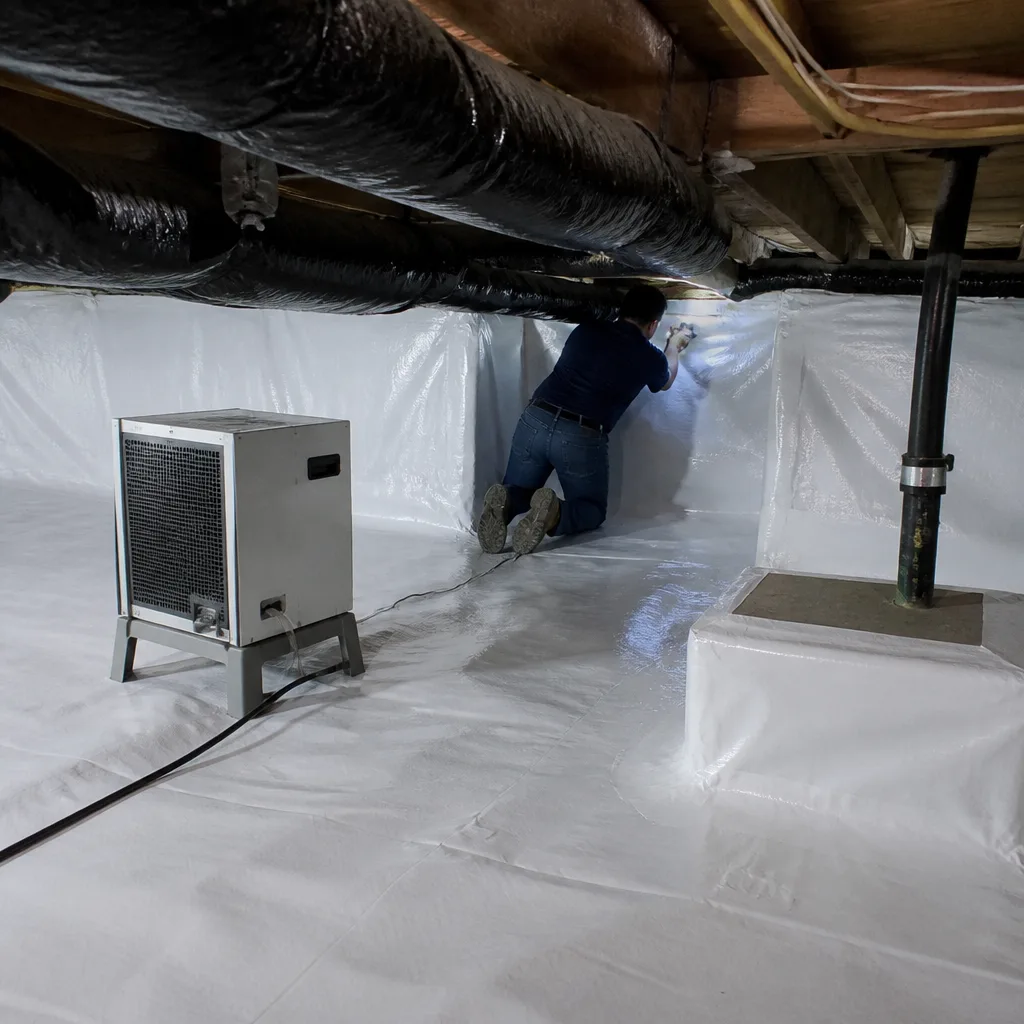
Attic insulation in Palmdale is not a set-and-forget installation. The high desert climate imposes specific, measurable degradation modes: UV hardening at eaves, monsoon moisture on sheathing, and rodent compression throughout. A structured three-inspection checklist with pass/fail criteria, depth measurements against installed markers, and dated photographic documentation catches these problems before they require full replacement. The homeowner who maintains this record pays less for future work, receives more accurate quotes, and avoids the surprise of discovering damage only when energy bills spike or a contractor’s exploratory visit reveals extensive contamination. Start with the May inspection, file your photos, and build the documentation that protects your investment. Browse our more guides & resources for additional home performance content.
Written by Wes Okafor, Owner at Topside Attic Insulation Palmdale, serving Palmdale since 2016.